***Please note that after switching from several different hosts before settling on Blogger, the formatting of my pictures may not be as it was originally intended. I simply don't have the time to go back through years of posts in order to fix the orientation of the pictures. Sometimes a picture just shows a box of text in its place, but clicking on it will allow you to see the picture. Others, there may be no picture at all. I apologize.***
Showing posts with label Masculine. Show all posts

January 21, 2010

Details, details, details....

As I promised you, here are some of the tips/details/photos/etc. on the projects I made for the Stampin' Addicts Sale-a-Bration Blog Tour. If you haven't checked it out yet, you can check it out by starting either with my post here and completing the circuit, or going to Stampin' Addicts here. Oh, and if you join Stampin' Addicts (it's free, and if you love stamping then it's the perfect site for you!!) come back to this post and follow this link so they know I referred ya! I don't get anything for it other than warm fuzzies, but who doesn't like warm fuzzies?!?! ;)

On the Blog Tour, it's appreciated if we don't get too wordy or show more than a certain number of pictures, so here is Part II of all of my projects.

Now, on to Part II of my Stampin' Addicts Sale-a-Bration Blog Tour posts....


You probably remember this card. This card has a nice detail of a shorter front so that the sentiment peeks out from the inside. I was going to add some paper piercing to the bottom below the sentiment and stretching across to the left side of the card. BUT - I've gotten better at knowing when enough is enough. It is a talent I have yet to master, but in this case, I do think that the paper piercing would have been too much. I just love paper piercing though and can hardly keep myself from doing it all over!! :) I did do it around the butterfly, but that's it.

It has one of the darling new Chocolate Chip 1/4" Sending Love Epoxy Brads on the ribbon treatment. I don't know if it was very noticeable in the shot, but being that I had to stand the card up a funny way to get it to stand up since the bottom doesn't touch - it was taken at an odd angle.

So - maybe the details make you see the card a little differently? The color combo of a pink and a brown are a fave of mine for Valentine's day, so I think I had it stuck in my head when I made this card - even though it's totally unrelated to Valentine's day and I've yet to make any Valentine's cards. I guess I've just been seeing them everywhere :)


Now...on to the pictures I think you've anticipated seeing the most. The butterfly framed art (which is shown above at a fun angle). I must say, I am always looking for low-priced items to alter. I love to look at the frames on clearance at my local stores with thoughts and dreams for what they might hold, or what they might look like altered completely from top to bottom someday in the future. When I came up with the idea of the butterflies, I must admit that I looked through my small stash in hopes that I had a shadowbox type of frame, but I didn't have one. So - something I've done in the past so that I don't have to make my project more 2-D than 3-D, is to take the glass out of the frame and put it back in behind the stamped/hand-crafted art that I'm putting inside. That way it's still thick enough for the back to go on correctly, and it gives the cardstock art some support from behind since it doesn't have it from the front.

But, on to what I did. I recommend having some Dotto on hand - or some other re-positionable, non-permanent adhesive on hand. Mine was held with my fingers, and it got old - it slipped every now and then and I had to make sure to re-position it.


Tah-dah!! I used my Stampin' Up! Light Table, some SU! Grid Paper, and that's it! I've heard of people using windows, or glass coffee tables with lights beneath them instead of a light table, but for the times that I have needed it to emboss or now to line something up, it has been so much better than trying to make-do. That's just my opinion. Anyway - as I mentioned in my original Blog Tour post, you have to be using Whisper White CS because I don't think any other CS (except for Vellum CS, of course) will allow light to pass through both the grid paper AND the CS.

I centered my CS base on the grid paper and because it was 8" x 10" to fit my frame, it went from 3" to 13" from left to right, and 2" to 10" from bottom to top on the grid paper. If you have a piece in front of you, it will make more sense. I would suggest just using the center of your grid paper (it has an x and y "axis" that are more bold that run right through the grid paper in the middle of it both ways) to center your project, whatever the size (as long as it's not bigger than the grid paper of course). This is how I was able to evenly space my butterflies. I didn't even make marks on the CS! I placed the middle of the butterflies on the grid lines that I had chosen for the spacing that I desired in-between each butterfly. Every butterfly's wings touched the same line on the top and bottom of the wings as the butterfly next to it. They also were centered in the same column of squares going vertically down the page. My butterflies had a half an inch between them from the bottom of one butterfly to the top of the one below it, and a quarter of an inch between them (this was a little harder since my 1/4" consisted of two halves of two squares (2 - 1/8" segments). You can see this the best with the Melon Mambo Polka Dot (Patterns DSP) butterfly 2 down from the top right, the one to it's left (Bermuda Bay Stripes from Patterns DSP), and the one immediately below that one (Melon Mambo also from Patterns DSP). I used a little piece of Stampin' Dimensional under each wing to pop them up. I started mounting them at the top left and went to the right and then down to the 2nd row and went from left to right again, and so on.


I hope that this answers any and all questions you might have had about my projects. My third card, the one you see above, was fairly simple and really doesn't have much to it. I used my Tabletop Trimmer to cut 1-1/2" squares out of the Sweet Pea DSP and then just eye-balled placing them on my card. That's about it!

Thanks so much for stopping by, and I hope you'll keep visiting me. I appreciate each and every visit, and especially each and every comment. I'm getting ready to start working on my Master's Degree, so I don't have time like I used to to reply to every comment, but know that each one makes my day a little brighter. Thank you!! :)

January 16, 2010

Stampin' Addicts Sale-a-Bration Blog Hop Stop #7


Hi there!  Some of you may be joining me because you've been hoppin' around the internet checking in with different Stampin' Addicts to see some fantabulous projects created with Sale-a-Bration items.  I think that the ladies have outdone themselves once again!  The Blog Tour "officially" starts at 12:00 pm EST but most of the stops should be live at 10:00 am EST.  So, if you're hitting some bumps, check back a little later and it should all work perfectly!!  :)

If you're following the Blog Tour, you just came here from stop #6 which was Sharon's blog Created By You, where she featured Whimsical Words.  Don't you just love her projects?!?!

My projects will be featuring Whimsical Words as well.  That's right, you're supposed to be seeing double - it's featured twice on the tour!!.  This set is one of the exclusive Sale-a-Bration 2010 stamp sets that will never be seen in an Idea Book & Catalog.  That's part of what makes Sale-a-Bration stamp sets so special.  That, and they're FREE!!!  LOL

On Thursday I will tell you some more details about my projects below, and I will also show some additional pictures to explain them a little more thoroughly.  Make sure to check back on Thursday to see how I lined up my butterflies - it's a really handy trick (as long as you're using Whisper White CS as your base!!)


The picture you see to the left was my inspiration.  I wanted to make something for my daughter and I used her bedspread for the colors.  She loves what I made her, and of course my other daughter really wants one now too.  I love my girls :)  Now I just need a dinosaur punch to make one for my little man!  ;)

As I mentioned before, check back on Thursday to see what I did to get my butterflies perfectly lined up.

Stamps: Whimsical Words (Sale-a-Bration 2010)   Paper: Whisper White CS, Melon Mambo, Bermuda Bay and Rich Razzleberry Patterns DSP, Razzleberry Lemonade DSP, Sweet Pea DSP (2010 Occasions Mini Catalog)   Ink: Bermuda Bay Classic Ink   Accessories: Fire Circle Rhinestone Brad, Butterfly Punch, Stampin' Dimensionals, Wooden Frame


Stamps: Whimsical Words (Sale-a-Bration 2010)   Paper: Kraft, Whisper White and Melon Mambo CS,  Sweet Pea DSP (2010 Occasions Mini Catalog), and Melon Mambo Patterns DSP, Sending Love Notes - Kisses (2010 Occasions Mini Catalog) Ink: Chocolate Chip Classic Ink   Accessories: Beautiful Wings Embosslits Die (2010 Occasions Mini Catalog), Big Shot, Scallop Edge punch, Corner Rounder punch   Chocolate Chip 5/8" Satin Ribbon (2010 Occasions Mini Catalog), Sending Love Chocolate Chip 1/4" Epoxy Brads (2010 Occasions Mini Catalog), Vintage Brads - Antique Brass, Paper Piercing Tool, Template and Pad, Stampin' Dimensionals


And my last project -  a masculine card.  It is my first in a while and I am planning on sending it to my hubby during one of his "trips" overseas for the Air Force:


Stamps: Whimsical Words (2010 Sale-a-Bration)   Paper: Bashful Blue CS, Sending Love Notes - Kisses (2010 Occasions Mini Catalog), Sweet Pea DSP (2010 Occasions Mini Catalog)   Ink: Chocolate Chip Classic Ink   Accessories: Paper Piercing Tool, Template and Pad, 5/16" Neutrals Jumbo Brad - Chocolate Chip, Stampin' Dimensionals


If my count is right, there are EIGHTY THREE stamp sets or other items that you get to choose from for this year's Sale-a-Bration promotion!!!  Never before has SU! offered so many choices for your free item that you earn with every $50 spent.  There's not even a limit!!  If you spend $150 you get the regular free merchandise and stamp sets as a "hostess" - whether you hold a workshop or not - but you would also get THREE more free items from the SAB brochure!!!!

Now, to see another fabulous array of products made with one of these 83 items, go to stop #8, Cindy's blog Heart's Delight Cards, where she will be featuring the super cute Scallop Trim punch that you can earn for FREE!!!  You will love the different ways she has used the punch!  :)

Enjoy the rest of the Blog Tour and have a GREAT weekend!!!

June 13, 2009

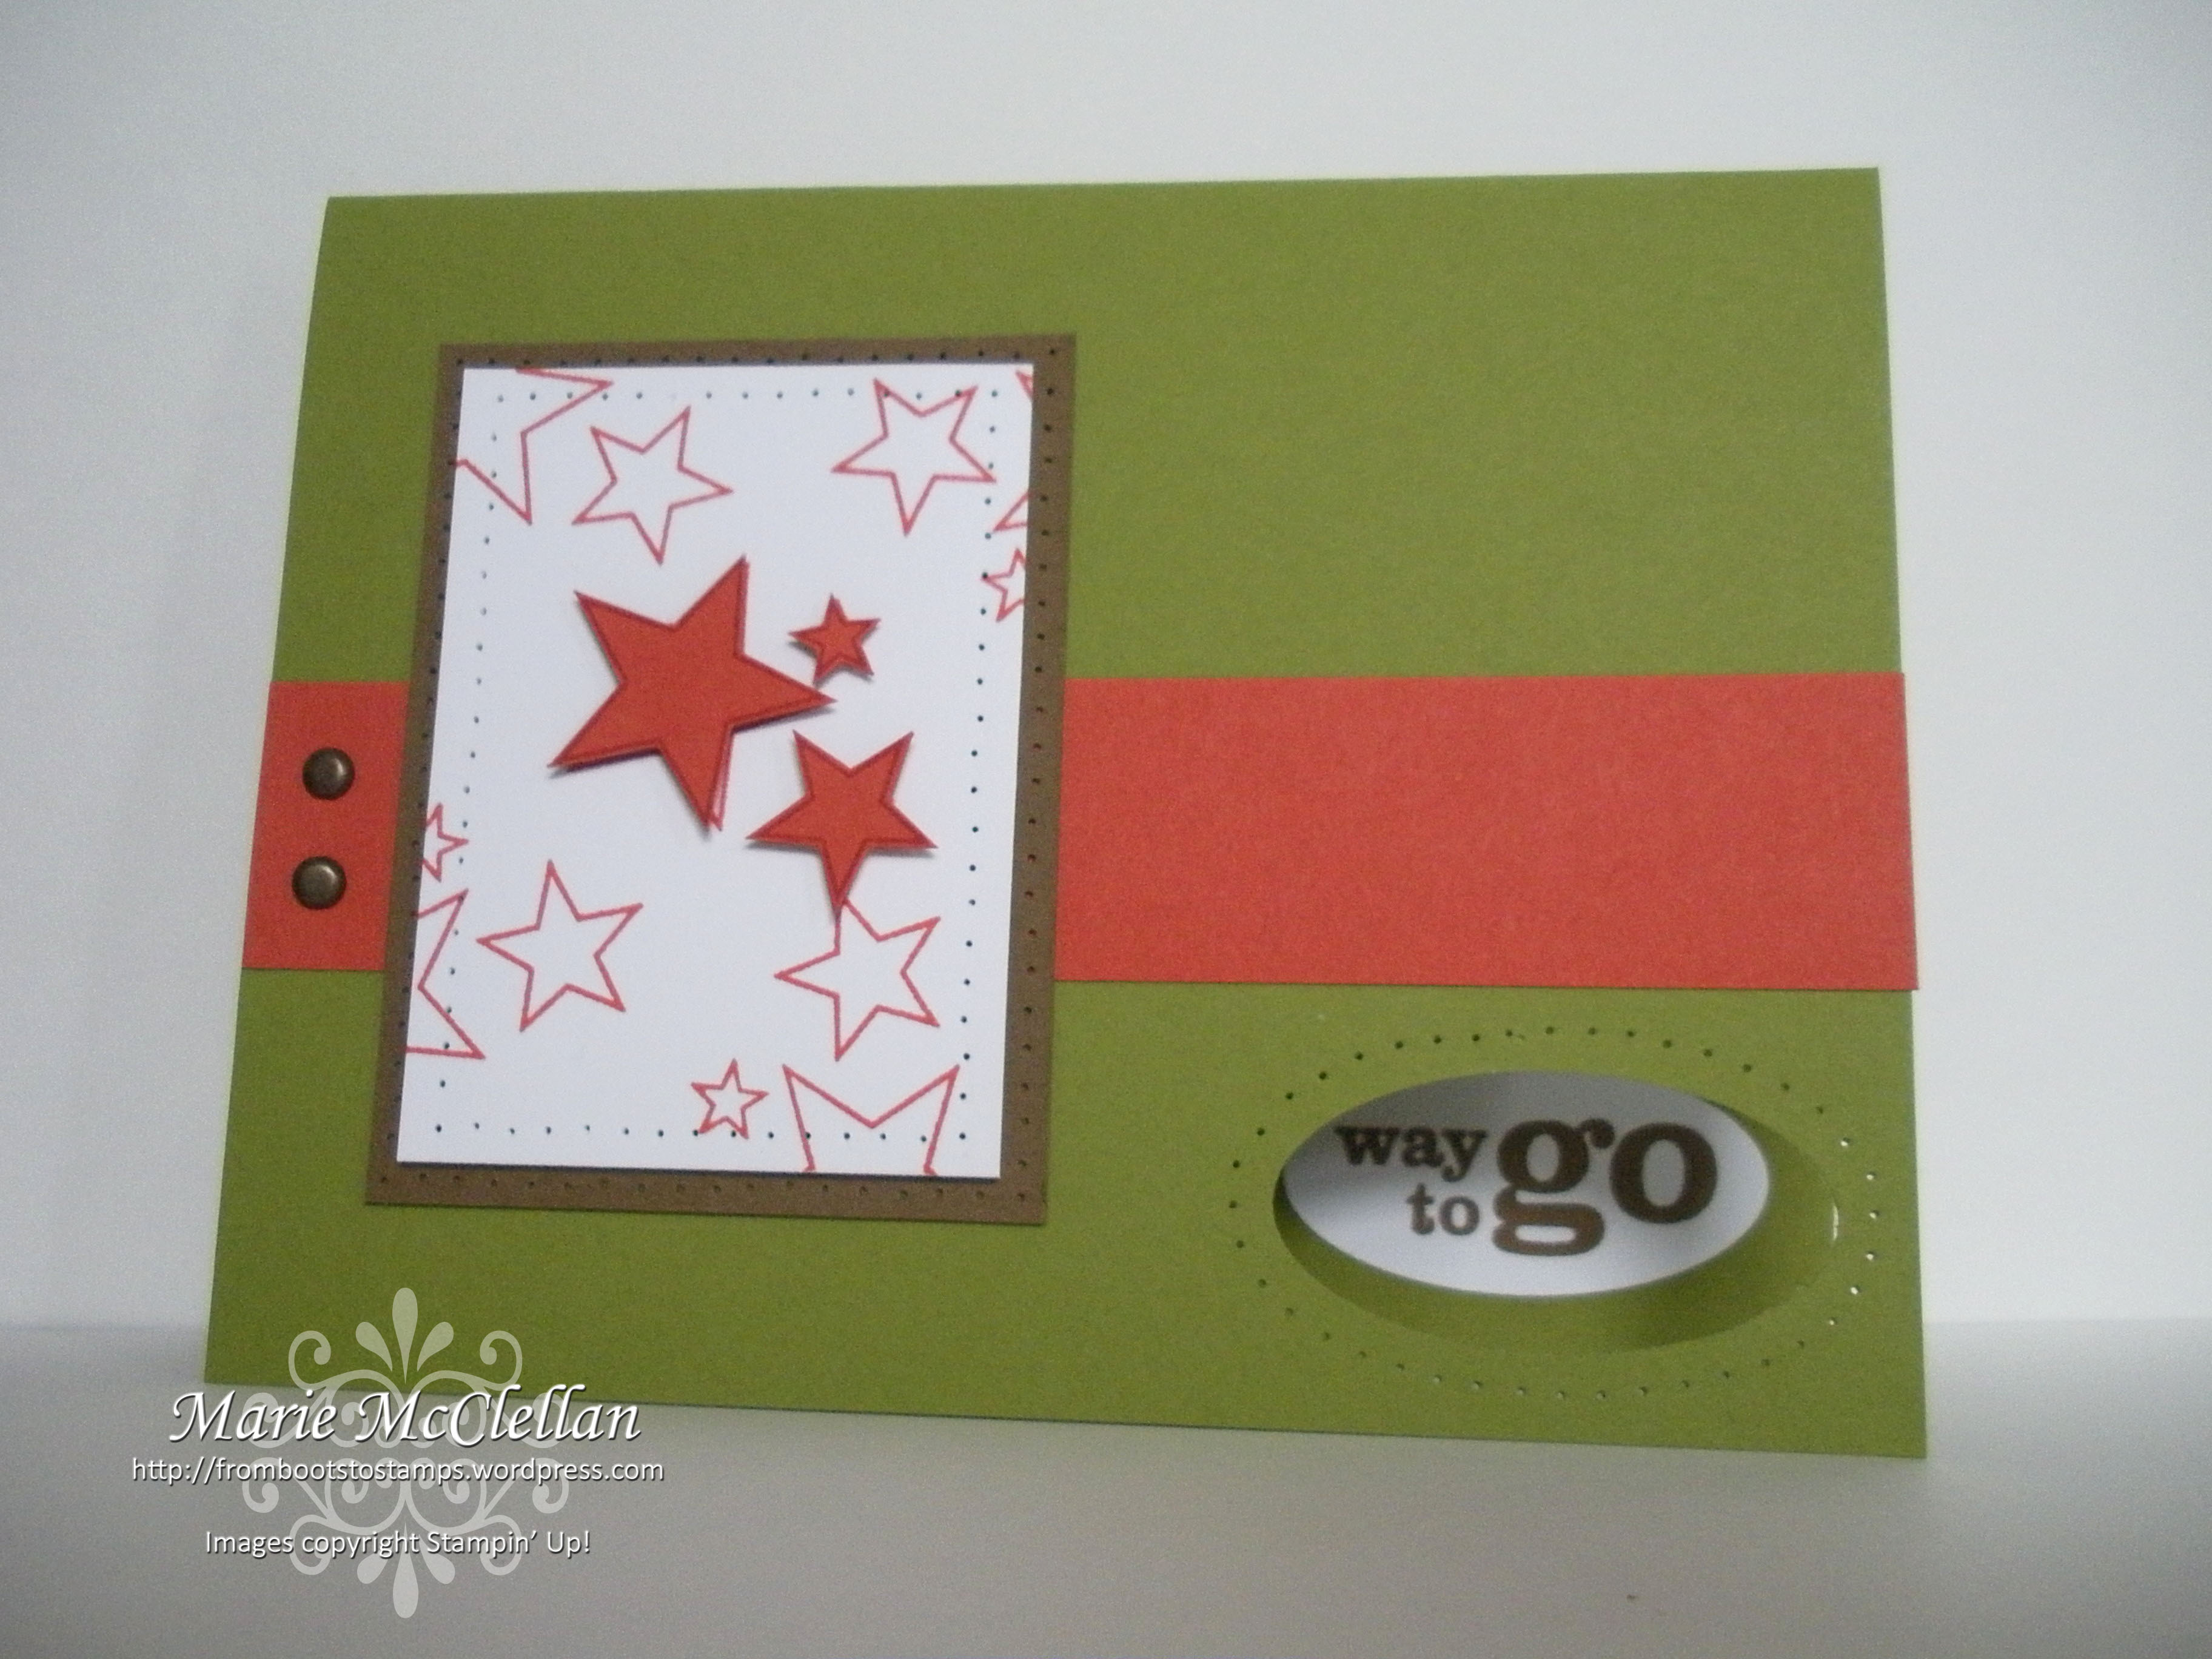
Celebrating an Eagle Scout

DSCN7223


DSCN7224_edited-1This is a simple card I made to congratulate the newest Eagle Scout in our Ward at church.  He is also a neighbor, and my husband was responsible for working with him and the other young men at our church before he deployed.  It was nice to be able to go with the kids - I just wish that the hubby could have been there with us.  Of course, I wish he could be just about anywhere with us ;) 
It was a very nice Eagle Court of Honor (unfortunately, I don't have anything to compare it to, but now it has raised the bar pretty high for the rest I will attend) and I thought a card of congratulations was something I should give the young man.  I don't know what is "customary" at these things, so I thought a card would be appropriate. 

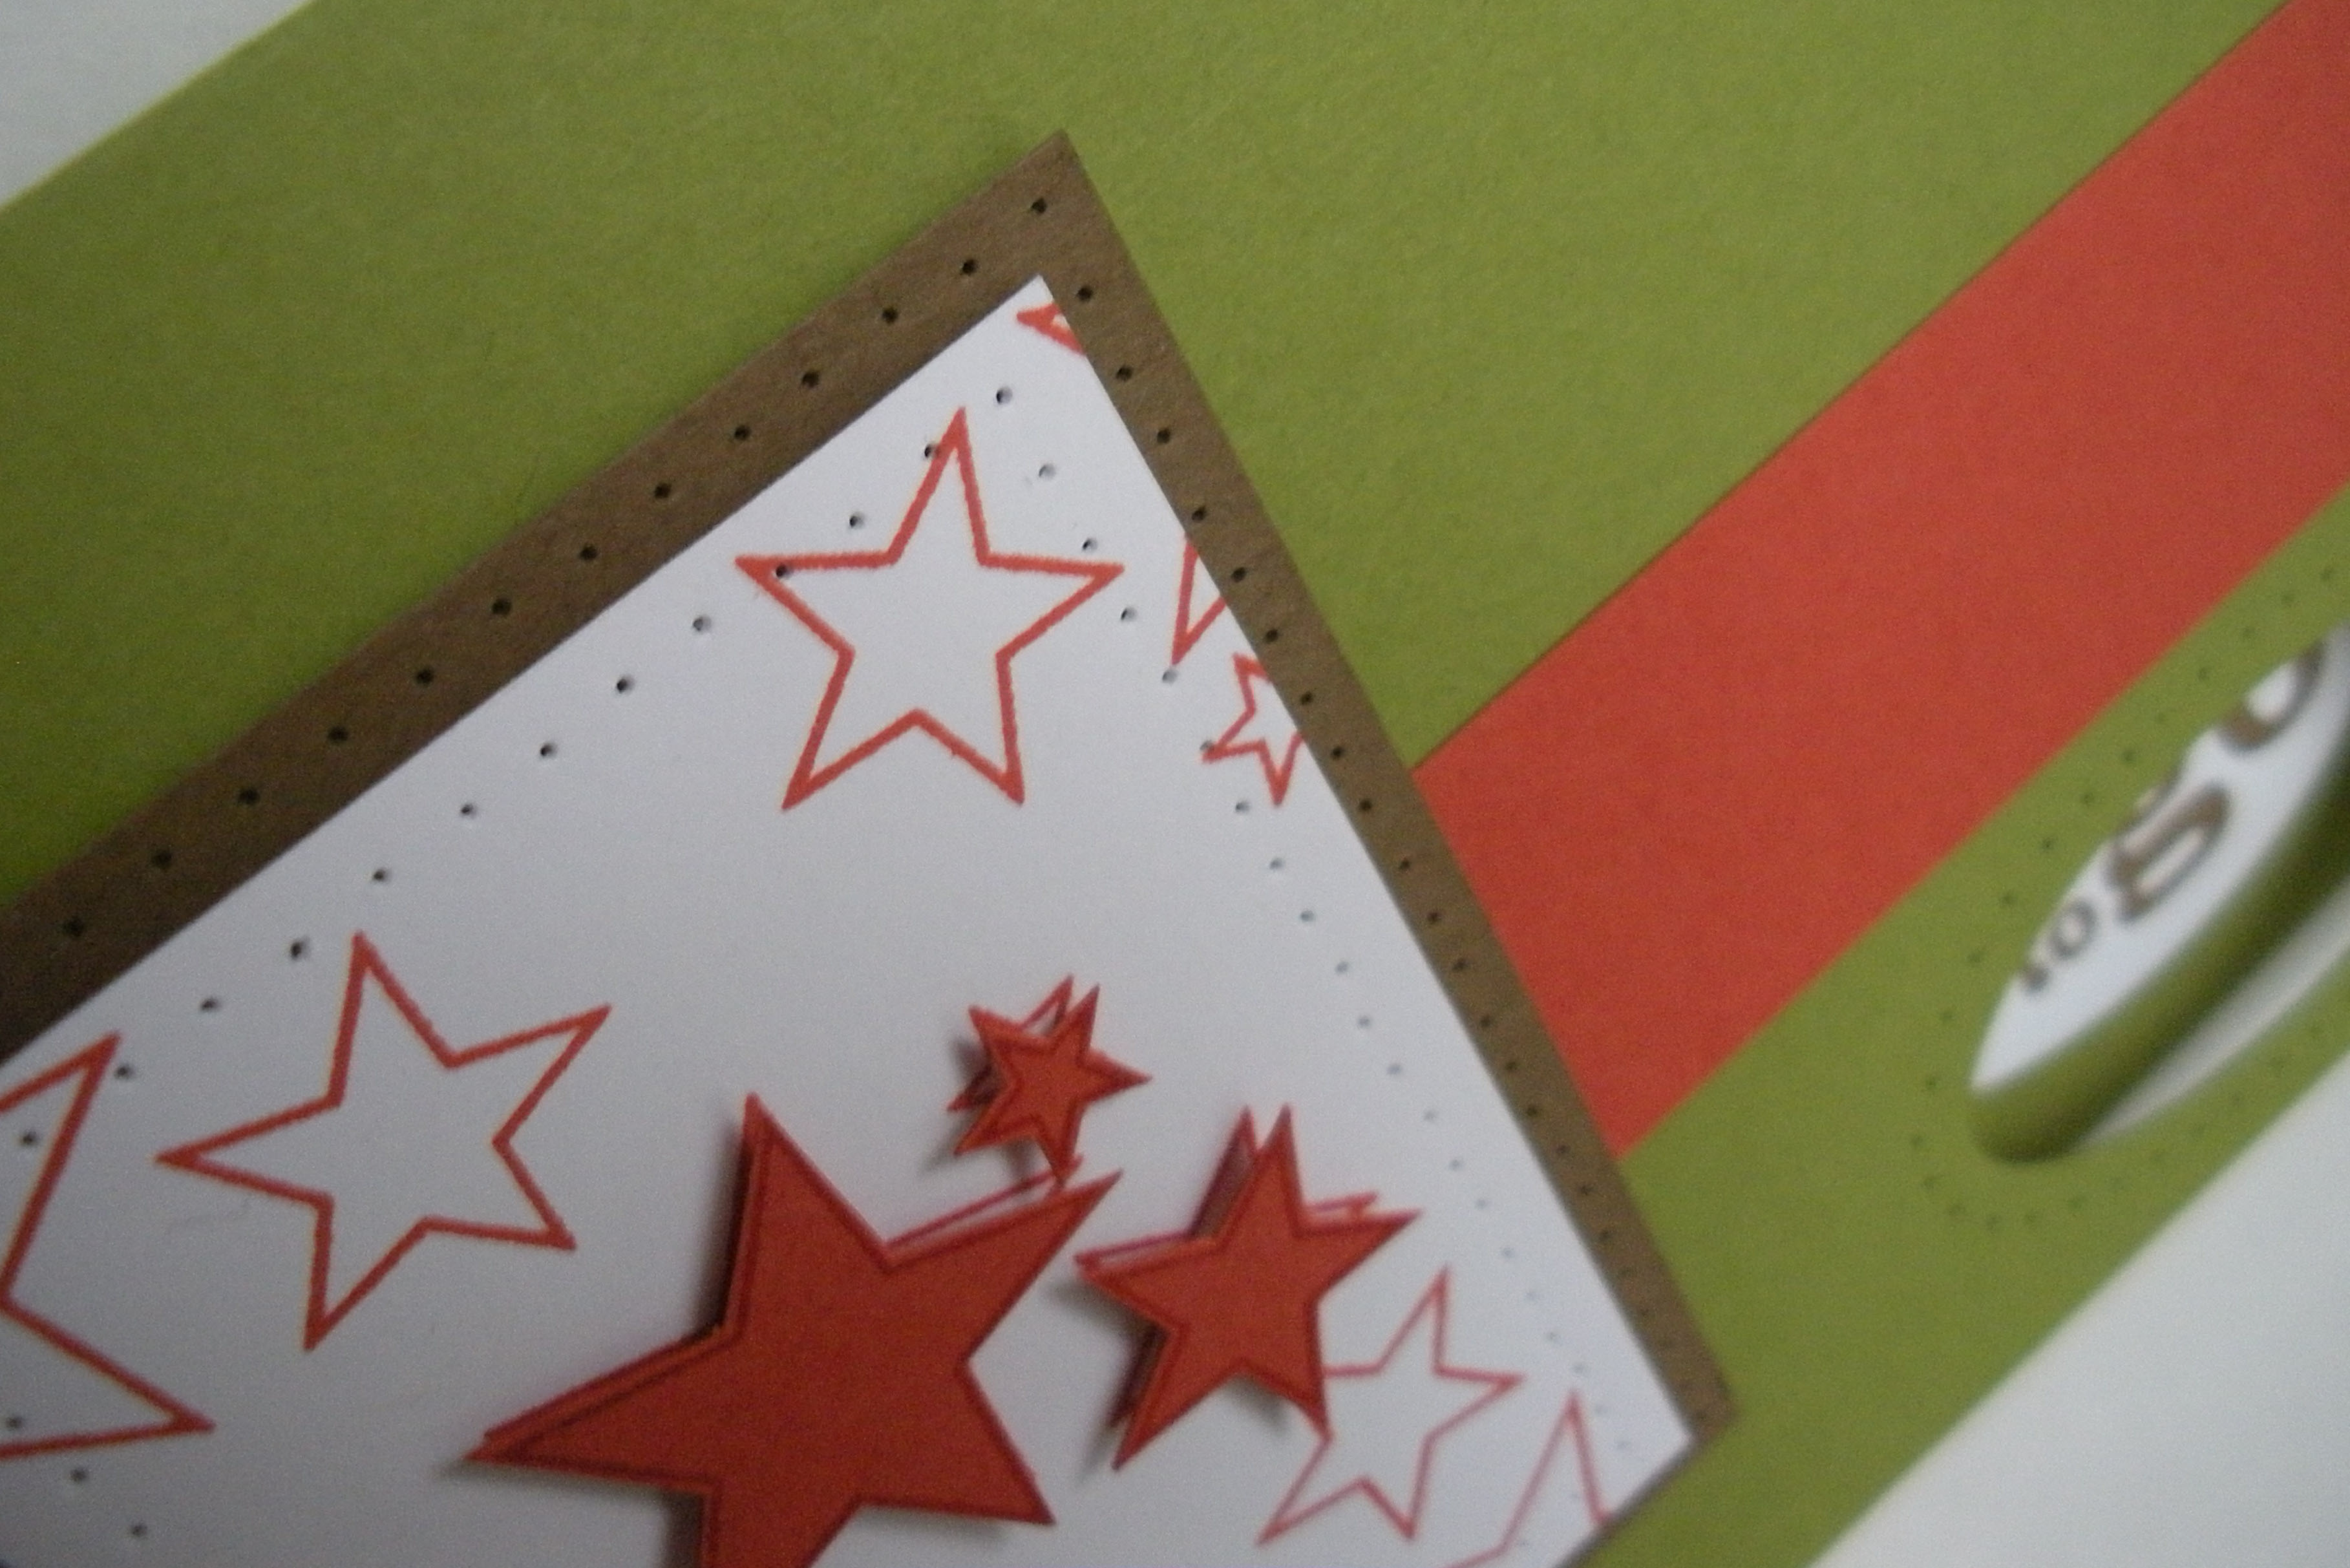
I hope it's not girlie!!! :)  I tried to keep the embellishments at a minimum (2 brads) and I did some paper piercing and popped up a few of the stars on the main image.  You can't really tell, but two of the colors are the upcoming In Colors.  I used the Soft Suede (the brown) and Dusty Durango (the rust). That Old Olive really makes the Dusty Durango look a little off-color, but oh well.  I think it was a good color combo no matter how it appears on the screen ;)  What do you think?

mysuppliesusedpicture


Stamps:  Starring You
Paper:  Old Olive, Soft Suede, Dusty Durango and Whisper White CS
Ink:  Dusty Durango and Soft Suede classic ink
Accessories:  Large Oval Punch, Piercing Tool and Template, Vintage Brads (Antique Brass), Piercing Tool and Template

May 2, 2009

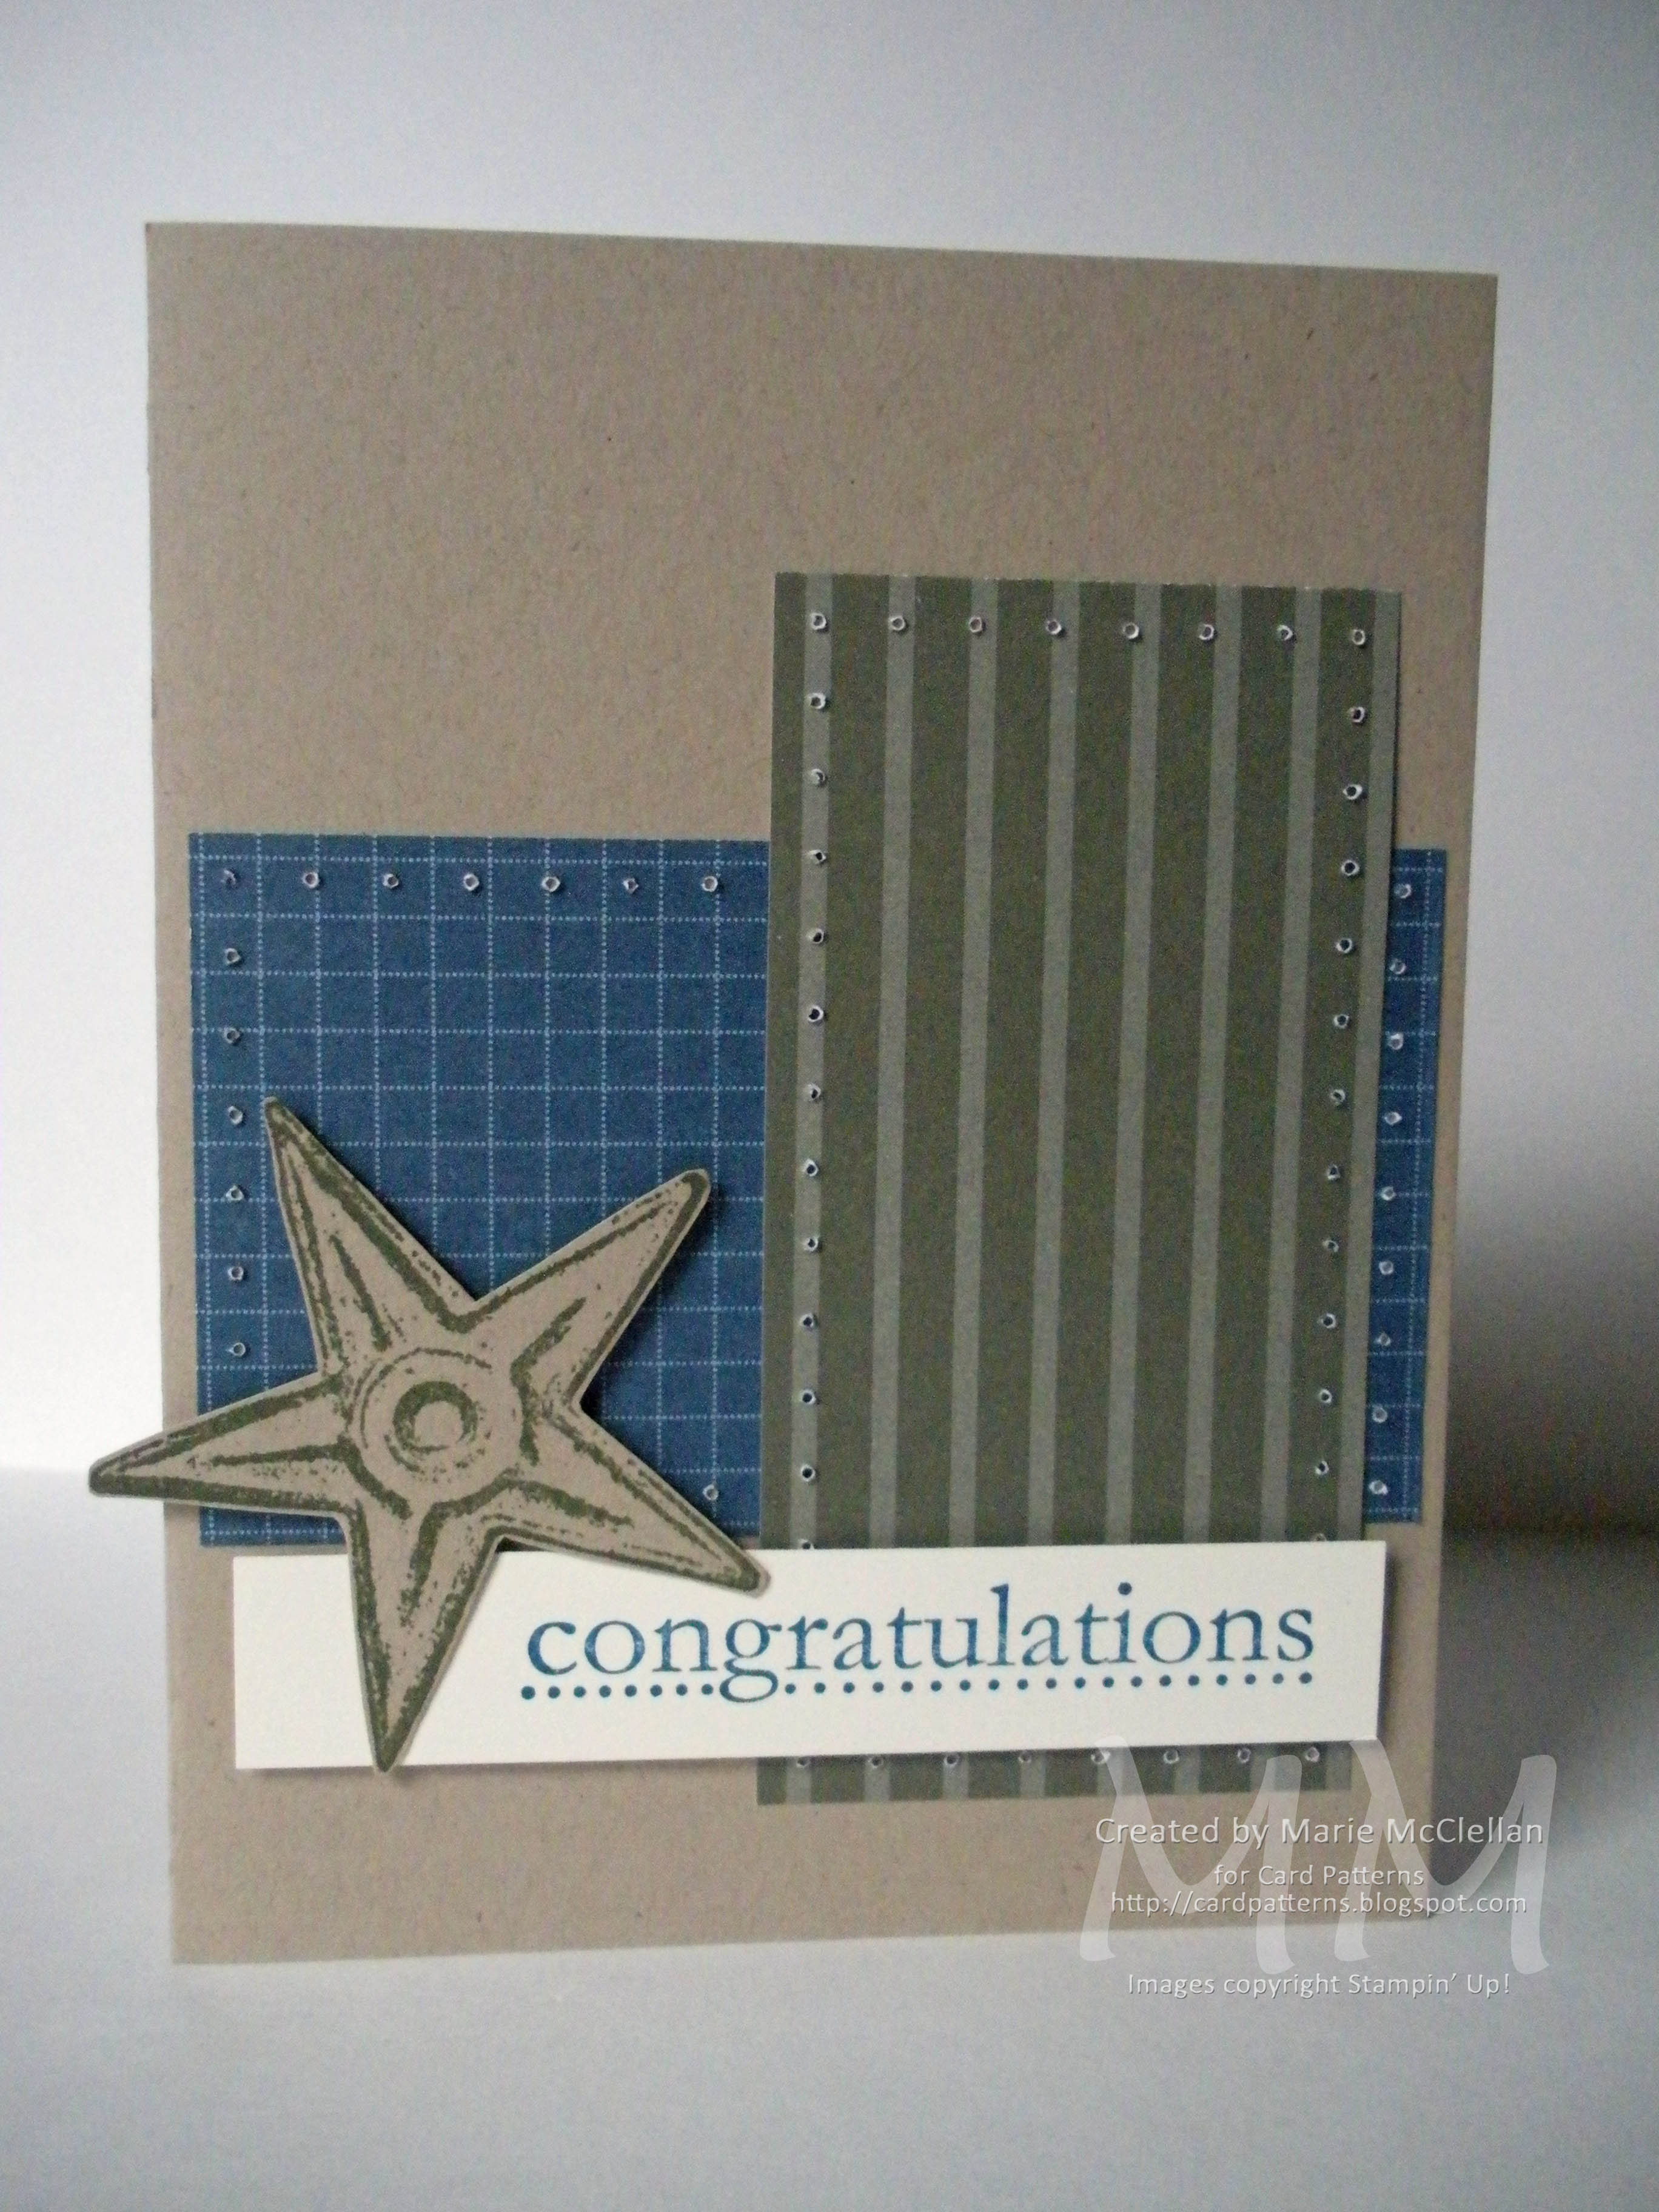
Card Patterns Sketch #13

dscn66971


So, you got to see the inside of this card in THIS post.  Well, above is the outside of the card that I made for our friend who was retiring from the US Air Force.  This sketch is another great one that Michelle put together, and you'll want to be sure to go check out the other fabulous cards from the fantastic Design Team members, along with this week's Guest DT member.  You can see CP Sketch #13 HERE.  Enjoy, and have fun with it!  As usual, here's a reminder that each week someone is chosen by the Card Patterns DT to be a Guest Designer, so don't forget to add a link to your card via Mr. Linky at the bottom of the Sketch #13 post.  There's also a great prize of Close to My Heart product that will be given to one random winner, so check it out!!!Have a lovely week!!

All items used are SU! unless otherwise noted

Stamps:  Congrats (SAB 2009), Artifacts (retired SU!)
Paper: Kraft and Very Vanilla CS, Patterns DSP Pack I (retired Level I Hostess item) in Not Quite Navy and Always Artichoke
Ink:  Not Quite Navy and Always Artichoke classic ink
Accessories:  Piercing Tool and Template, Stampin' Dimensionals

April 29, 2009

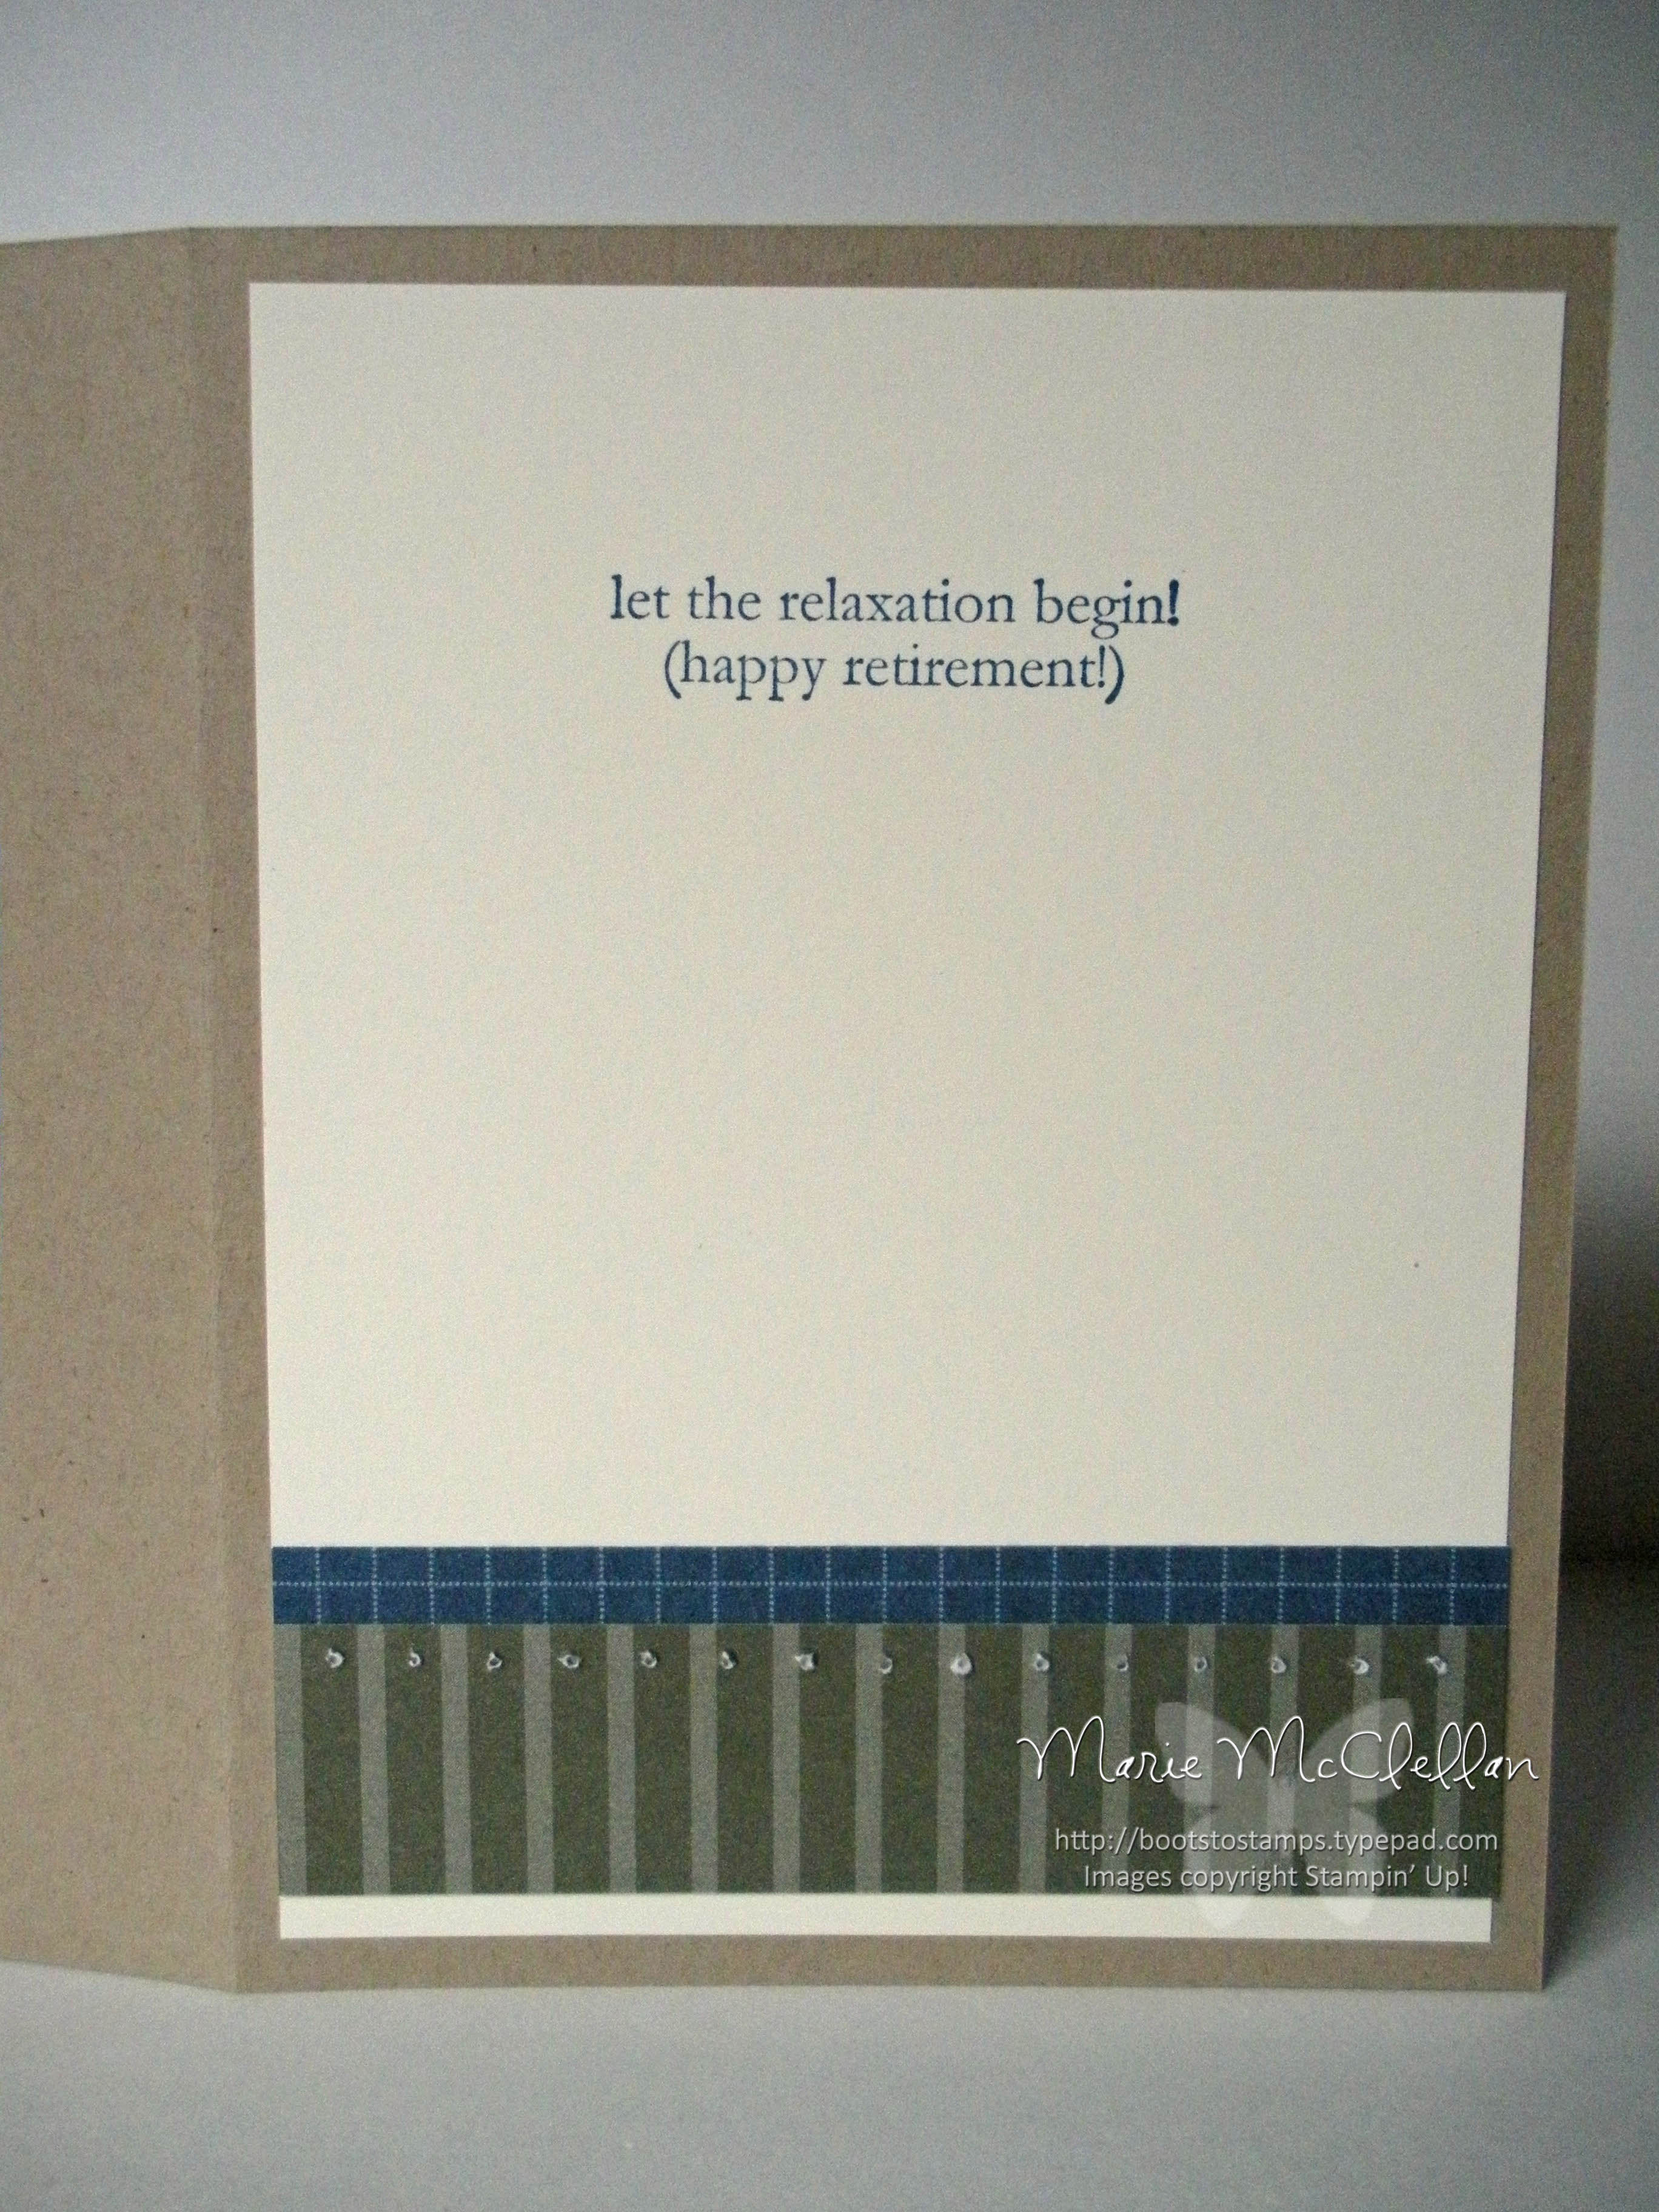
The inside....

dscn6693


So, I thought I would give you a teaser post with the inside of the card I made for this Saturday's Card Patterns sketch challenge.  I'm doing this to cheat and end up with two (creative) posts this week ;)  It's only the 2nd or 3rd time that I've ever done the inside of a card too.  I love it when people do that.  Beate is doing it most of the time now, and many other blogs I subscribe to have cards with gorgeous insides as well, but I can't think of exactly who at the moment.  It's a nice touch but usually I don't have the time to do it - getting to sit down and stamp at all has been extremely rare so I would rather make 2 cards than spend time on the inside of one.  This card was for a friend who was retiring from the US Air Force today, after 20 years of dedicated service and sacrifice (both his own and that of his family).  So, needless to say, I kept things CAS (clean and simple) because "boys" don't really like glitter and bling, or "complicated", do they?  ;)  LOL

So, I hope you'll check back on Saturday to see what I did with the CP sketch and that you'll play along with me and the rest of the CP Design Team.  We would love to have you and all of the CP sketches created by Michelle are fabulous!!!!

All items used are SU! unless otherwise noted.

Stamps:  Congrats (SAB 2009)
Paper: Kraft and Very Vanilla CS, Patterns DSP Pack I (retired Level I Hostess item) in Not Quite Navy and Always Artichoke
Ink:  Not Quite Navy and Always Artichoke classic ink
Accessories:  Piercing Tool and Template

June 4, 2008

Post for Tomorrow


I will not be able to post a card/project tomorrow (I will post the Boot Loot winner though!), so I'll share a second card today. I made this for today's Sketch Challenge over at SCS. They're on SC179 now. Check it out!

I decided to make this card have a gate fold, and I was doing my best to give it a masculine feel. I did some sponging, did some imperfect stamping (ahhh!!!) and kept it simple (the easy part for me). As I often say, I hope it's not too simple, but I think simple is better for a masculine card. I'd love to know what you think! Take care!!

Stamps: Father Figure by Verve Visual

Paper: Basic Gray Textured CS, Whisper White and Basic Black CS

Ink: Basic Gray

Accessories: Brads from Stylized Silver HPH, crop-a-dile to make holes in BB CS, sponges

November 6, 2007

Happy Birthday Honey!

Today is my husband's birthday. He turns the "BIG" 30 today and thinks he's old now :) I keep telling him wait until he's 50 and then he'll feel differently - 30 will feel like it was in his teen years! I must be one of the few that doesn't really care how old I am, or others are. I don't think you have to be older to be mature, maturity is a character trait that some have and some don't, regardless of age. Anyway, above is the card I made him. I am still needing practice with pastels. The grass was much brighter than I had wanted, but oh well. Below are the cards Sarah (3 year-old) and Emma (4 (AND 1/2) year-old as she makes me say!) made him. They used the same stamp set that I did and colored and glued everything themselves. Too cute!

Stamps: Wildlife Reserve, Sanded BG, Sincere Salutations
Paper: Sahara Sand Textured CS, Chocolate Chip and Very Vanilla CS
Ink: Chocolate Chip
Accessories: Chalks, Aged Copper brads (from HPH), Chocolate 5/8" Grosgrain Ribbon, dimensionals

Here's Sarah's beaver for Daddy - I think she chose it because it's one of the smaller images in the set and she likes little animals:

Here's Emma's "goat" for Daddy - it HAD to be PINK:

June 13, 2007

Father's Day Cards

Here are the cards that I made for my dad, my husband, and my father-in-law for father's day. No peeking Dad!!!! I was totally inspired by and very much so CASED Cambria's card that she made and I followed her outstanding instructions on how to make the shirt. It was super fun to make the shirts and I liked that there wasn't a ton of stamping - it seemed more "masculine". Enjoy, and check out the links to her site!!!


Stamp Sets: Circle of Friendship, All-Year Cheer III
Card Stock: Apricot Appeal, Certainly Celery, Kraft, Chocolate Chip, Palette O' Prints
Ink: Brown StazOn
Accessories: Vintage Brads, CM circle cutting system, 1 1/4" circle punch by SU!, CB Divine Swirl A2 embossing folder

April 23, 2007

Cards for Troops

Recently, as I've mentioned before, I helped organize an event here at Laughlin AFB where volunteers
came and stamped cards for the members who are deployed right now from our base. There are 68 or so that are deployed and that's a lot considering the mission of this base is to train Air Force Pilots, so most of the Active Duty on the base are Officers are deployed. Of that 68, most are enlisted troops from Security Forces, Civil Engineering, and so on. A lot of them leave family members behind, and there are also many of them who are single. Either way, we like to send them care packages to show that (as the name says) we care and miss them and are praying for their safe and speedy return. Well, the card that we made them is obviously the first picture. I kept it simple since almost none of the 15 or so volunteers had ever stamped.

These other pics are a couple I took of the volunteers stamping. What a great way to spend some time doing something for someone else!! Isn't that what we're doing MOST of the time as stampers? I don't think a whole lot of us sit and make cards for ourselves, or even most of the other projects we make. I challenge you to make a card today for someone in the military.

Whether it's someone you know or you just want to send the card in to someone that's organizing card collection for the troops, take a few minutes to do it. As everyone likes to say, there isn't a Hallmark in Iraq (or any other deployed location).

Here are some links to a couple of ladies who are organizing collection of cards to send to troops:

Debbi Dresser

Kyla Maestas

Dawn Griffith

Of course my girls had to stamp while we were there and Emma really wanted me to post a picture of them too, so here they are:

Take care!

March 9, 2007

Masculine Birthday Card

So, if you came to my blog once already this morning, no - you're not crazy! This post was not here. I "fudged" the time/date stamp on the post so that my Comment Moderation post would stay at the top. Anyway, I created this card for my father-in-law's birthday. It's on St. Patrick's Day, so I had to get it in the mail ASAP so it could get all the way to Mexico where they live right now. I tried to keep it simple. I feel like masculine cards don't usually need much embellishment. On this card, I relied on my old-faithful male stamp set, Artifacts. I used the DS paper from SU! called Treehouse. My card was a True Thyme base with Buckaroo Blue on the bottom and More Mustard behind the Very Vanilla stamped center piece. I did direct to paper inking on the edges of the Vanilla piece and stamped off my Print Pattern and Weathered BG stamps before applying them to the parts of the card that they are on. I stamped the Happy Birthday from the Warmest Regards hostess stamp set. For the "star" image, I used the rock and roll technique to roll the Buckaroo Blue inked star in the True Thyme. I hope you like it and that he does too!

February 7, 2007

At least I have a card....


Well, as you can see in my very first blog candy giveaway (if you want a chance to win 20 alterable blank coasters all you have to do is post a comment in my blog candy post), I don't know what to do yet for my hubby for Valentine's Day, but at least I finished his card today :)

You can't see it very well, but the top right heart has distressed edges. Each heart is popped up with a dimensional (you can sort of see one under the bottom left heart - oops!). All but the bottom right Chocolate Chip squares are popped up on the big glue dots. I didn't pop up that fourth one so that the hardware could sit on top of it.

I used the Mon Ami stamp set - all of it - for the hearts. I used Well Worn Words for that darker square of Buckaroo Blue behind the four chocolate chip squares. I embossed the top left heart with Gold e.p. on Buckaroo Blue CS. The top right and bottom left hearts are just stamped in Buckaroo Blue on Buckaroo Blue CS. The bottom right heart is also on Buckaroo Blue CS, but I used Chocolate Chip ink to stamp it. I did some paper piercing along the four corners, and used Fancy Flexible phrases for the "Love You" in the hardware. I used my trusty small oval punch to punch that sentiment out so that it fit perfectly in the hardware. The ribbon I used was chocolate and french blue grosgrain made by SU! There is a SU! vintage brad on the top right heart. On the little piece of vellum under that same heart, I used the word "love" from the Everyday Flexible Phrases set, and it matches the font on the heart perfectly. I also distressed the edges of the vellum to match the heart on top of it.

I hope that he likes it and you do too!!!